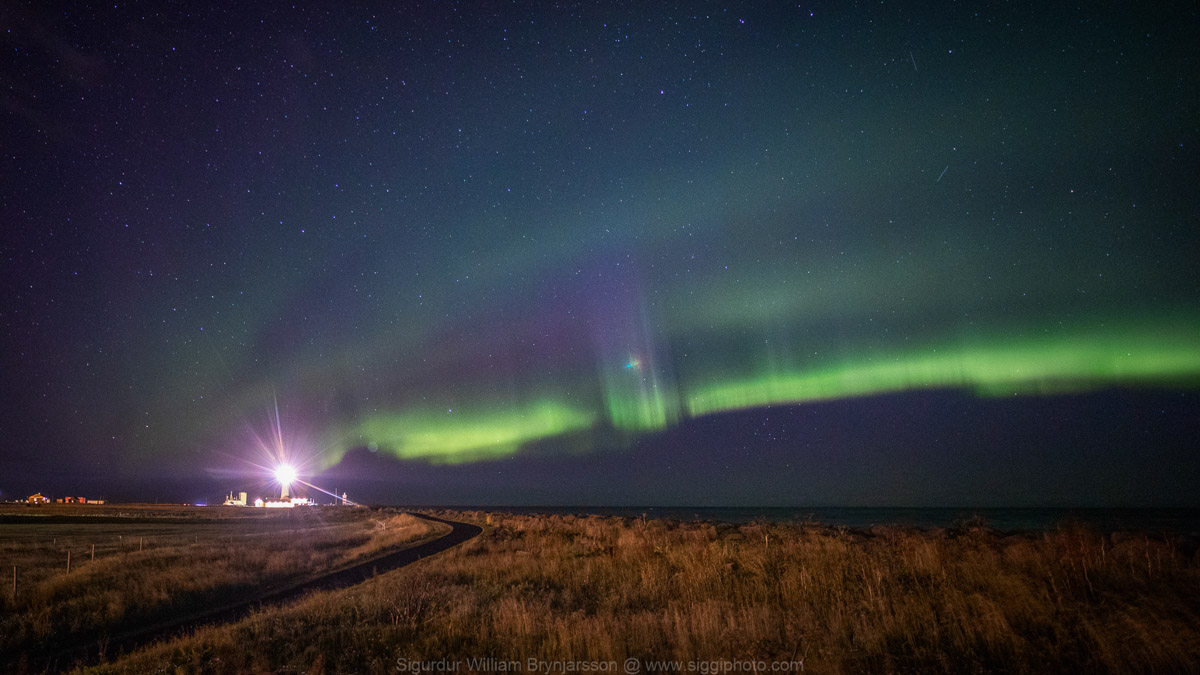
Capturing the Northern Lights – a Photography Tutorial by Sigurdur William:
Capturing a great image of the Northern Lights requires a lot of thought, and so if shooting the lights is on your photographic bucket list then be sure to check out these tips below.
GEAR SUGGESTIONS
The minimum gear you will want to take on your Northern Lights photo shoot is:
- Tripod: As long exposures are a must for any type of night sky photography, a sturdy tripod is one of the most important pieces of equipment you’ll need to avoid camera shake and unfocused images.
- Camera with Manual Mode functionality: A camera that allows you to manually adjust the ISO, aperture, and exposure. A full frame camera will also provide better overall image quality when shooting in low light situations, producing higher quality RAW files.
- Wide-Angle Lens: A wide-angle lens will allow you to frame a shot that includes more of the lights across the sky and the landscape below. A lens with a minimum f-stop value of f/2.8 will allow your camera’s sensor to pick up as much light as possible in the shortest amount of time.
- Accessories: Don’t forget the essentials – empty memory cards and fully charged batteries. You might want to bring extras of both so you don’t run out!
Other pieces of equipment you may want to consider are:
- Shutter Release: Preferably a wireless remote control which will help to avoid camera shake. However, you can use the camera’s shutter delay if you don´t have a remote.
- Torch/Headlamp: It will be dark and you may need some light to make changes to your settings or even to find your way. Just remember to turn it off as often as possible. All the markings on the Irix 15mm f/2.4 Blackstone are UV light reactive so they glow if you illuminate them with UV light (UV light does not have an effect on the human eye so you can still see well in the dark).
- Warm Clothing: If you are shooting the Northern Lights you are likely to be in a location that can become very cold so make sure you’re dressed appropriately with gloves, headgear and layers that have protection against the wind and rain.
PLANNING YOUR PHOTOSHOOT
You will want to do some planning before heading out on your photo shoot to maximise your chances of capturing great images.
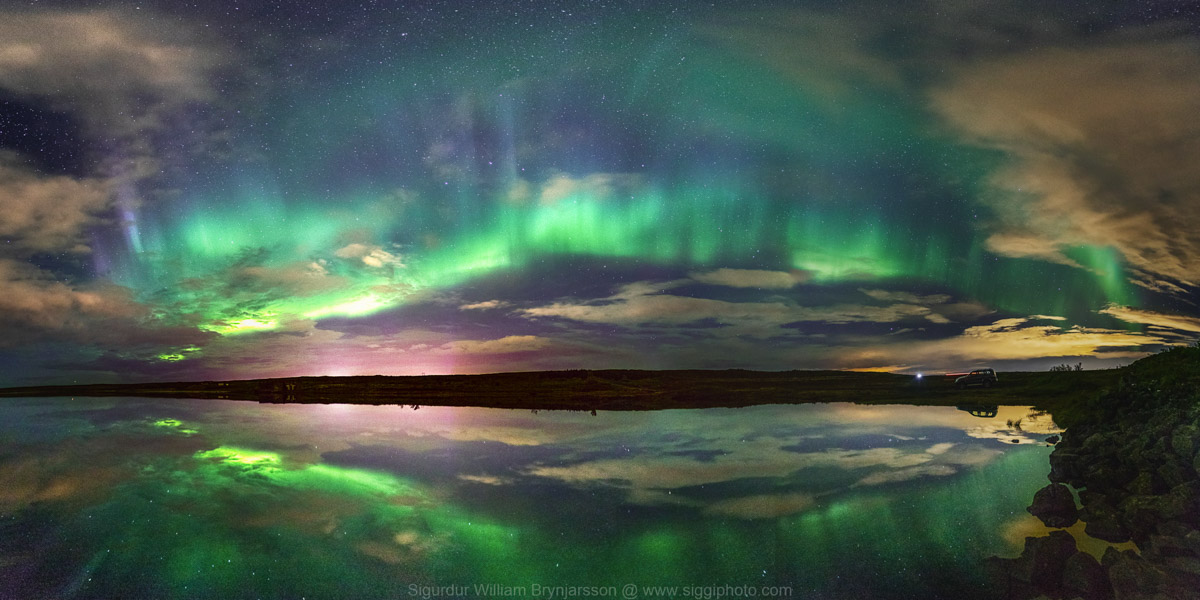
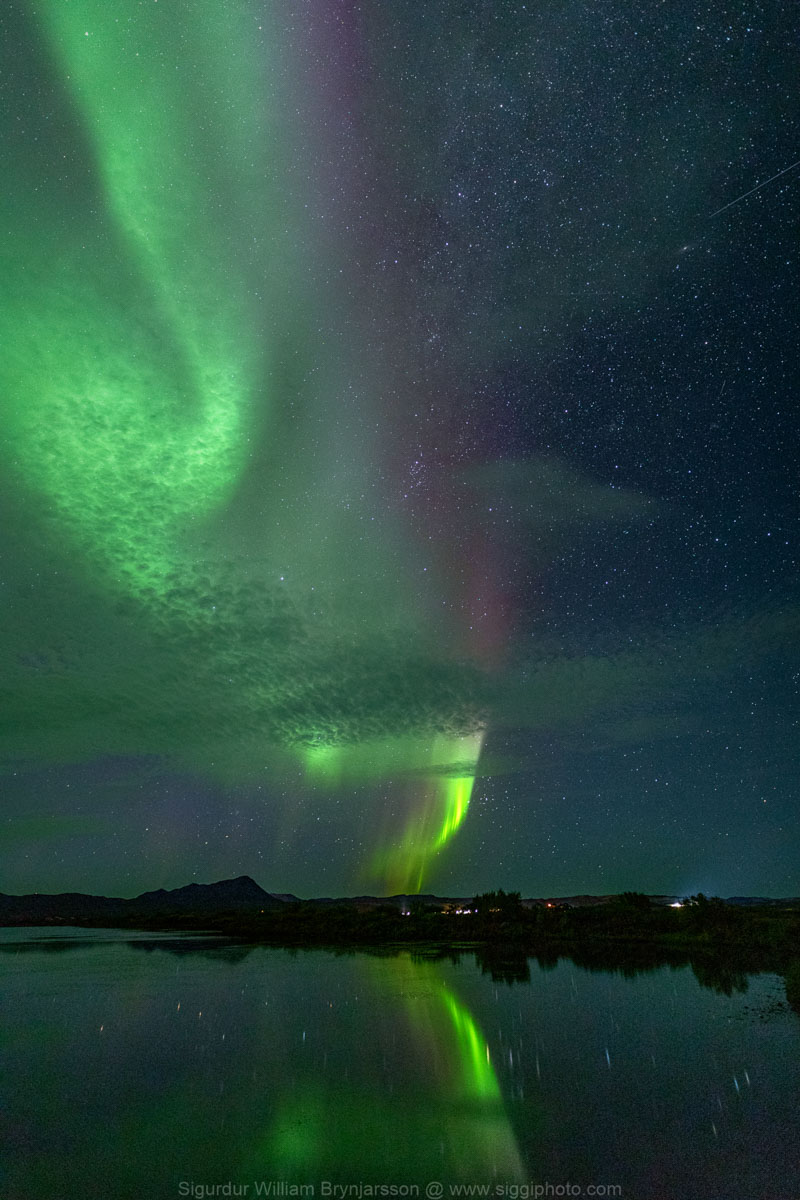
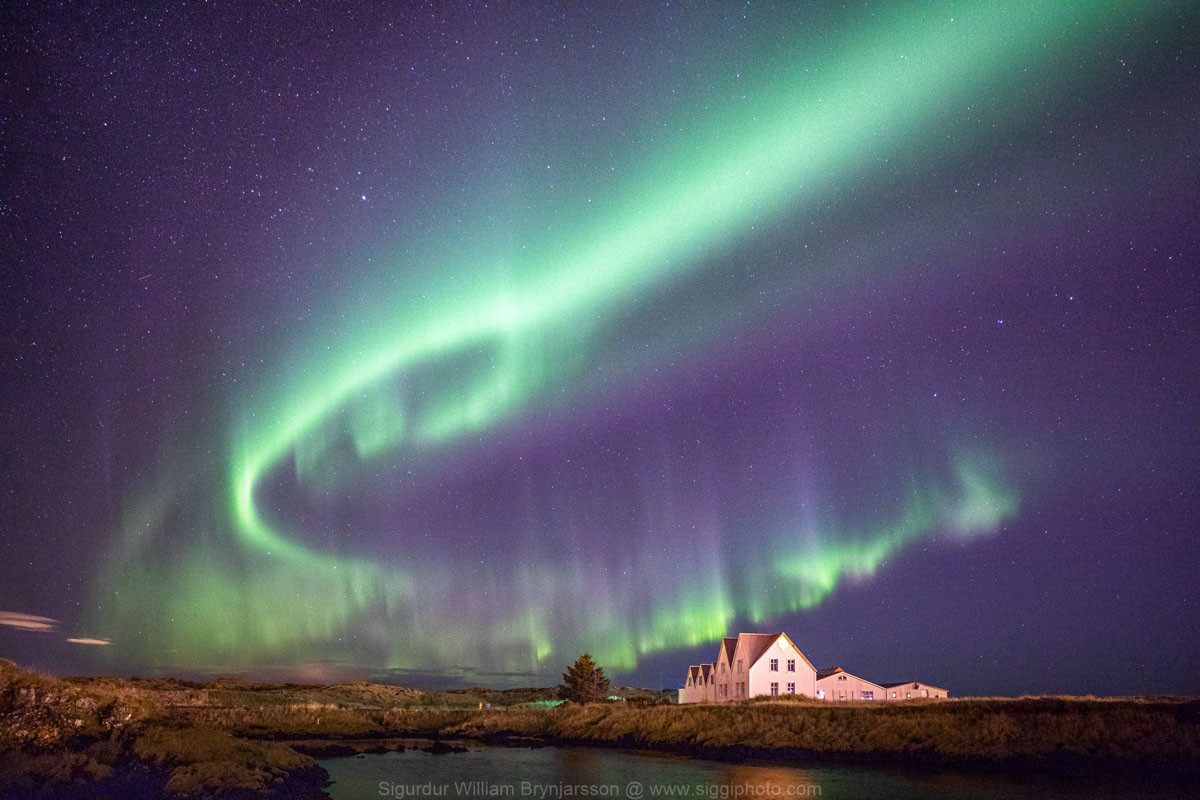
- Aurora Activity: Firstly, you’ll want to check that the lights will be out and how strong they will be. The Northern Lights are measured on an activity index (Kp-index) ranging from 1-9, with 9 being the strongest. The stronger the lights are, the closer to the equator you will be able to see them, and so for locations in the far northern latitudes, a KP-index of 2 is sufficient to see the lights and a KP-index rating of 5+ is considered a storm!
There are numerous resources for predicting the strength of the Northern Lights on the night of your shoot, but this depends on your location. In Iceland, for example, the Icelandic Met Office shows the strength of activity as well as cloud cover. But remember – while there are plenty of websites that give Northern Lights forecasts, they are predictions only and there are no guarantees.
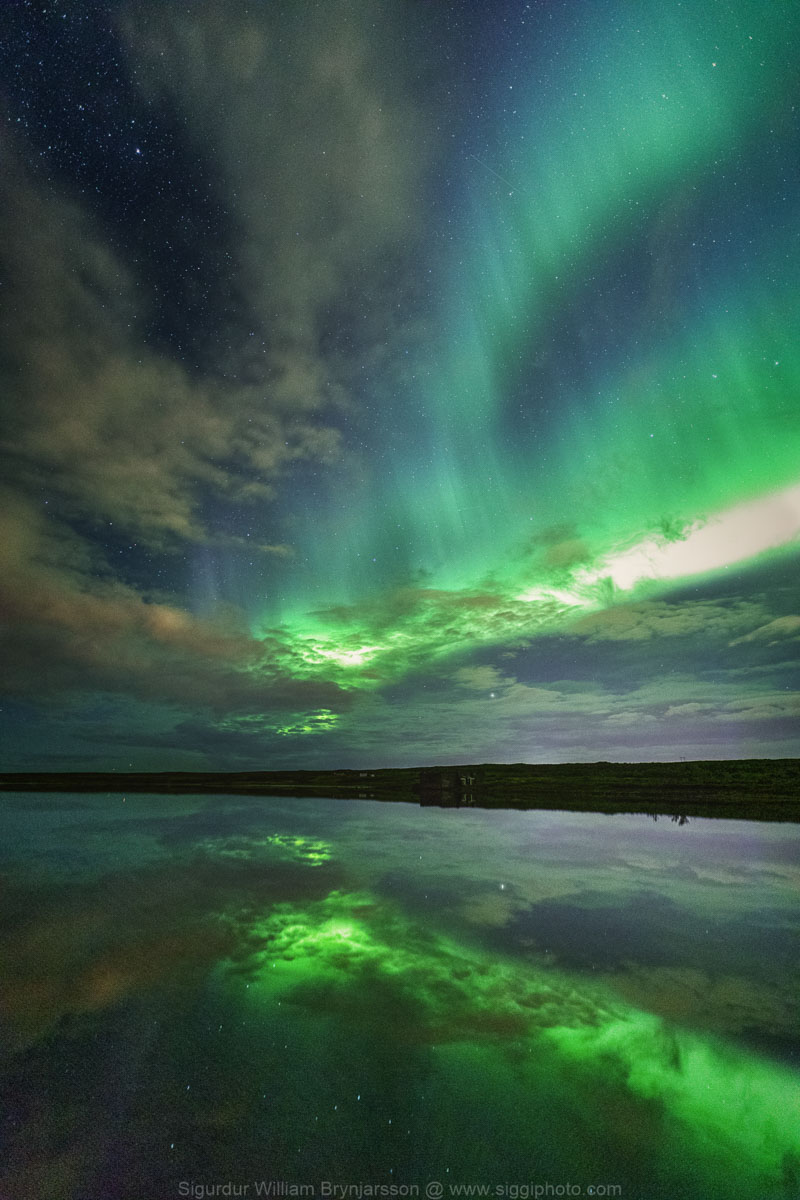
- Weather: It is very important to regularly check the weather when planning your photo shoot; while the Northern Lights predictions may be high, the cloud cover can prevent you from seeing any of it. There are many websites and apps you can use to check the weather forecast. For example, there is a popular website in Iceland called the Icelandic Met Office Weather Forecast which shows the strength of the solar activity and cloud cover in real time. A good tip is to review multiple weather forecasts to check where and when there will be clear skies during the night of your photoshoot. Remember that you’re still exposed to the weather conditions during the trip so be sure that your equipment is safe. (And you!) The Irix 15mm f/2.4 Blackstone is fully weather sealed, so there are no worries in using it during harsh weather conditions.
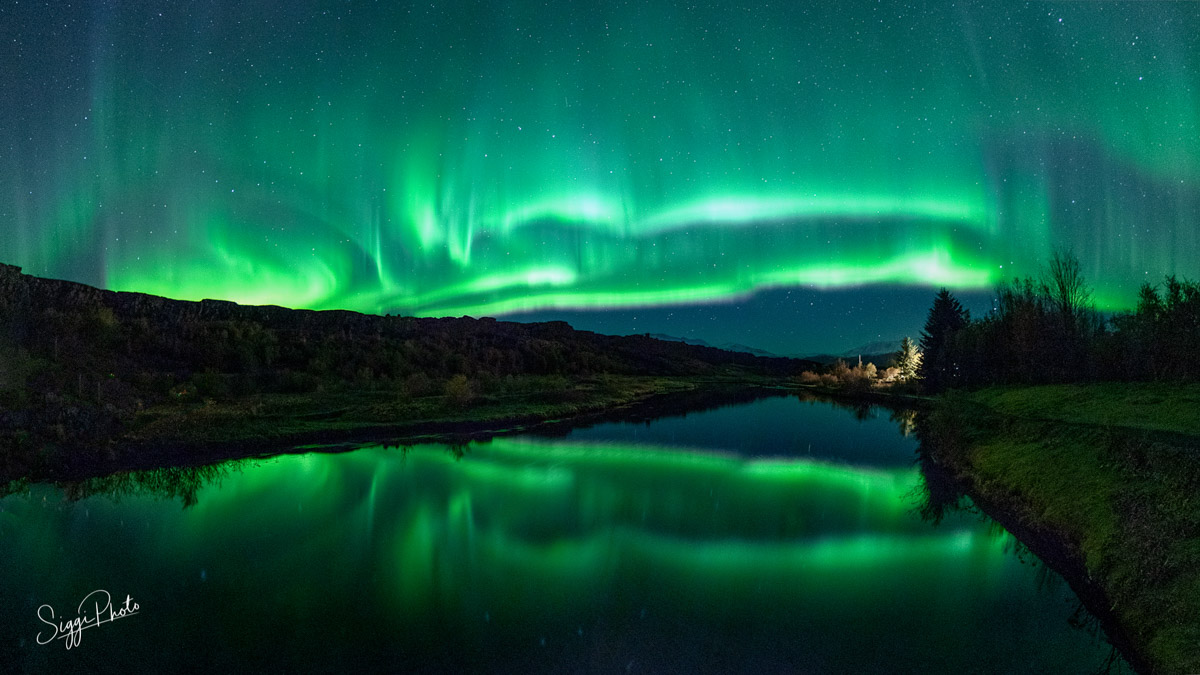
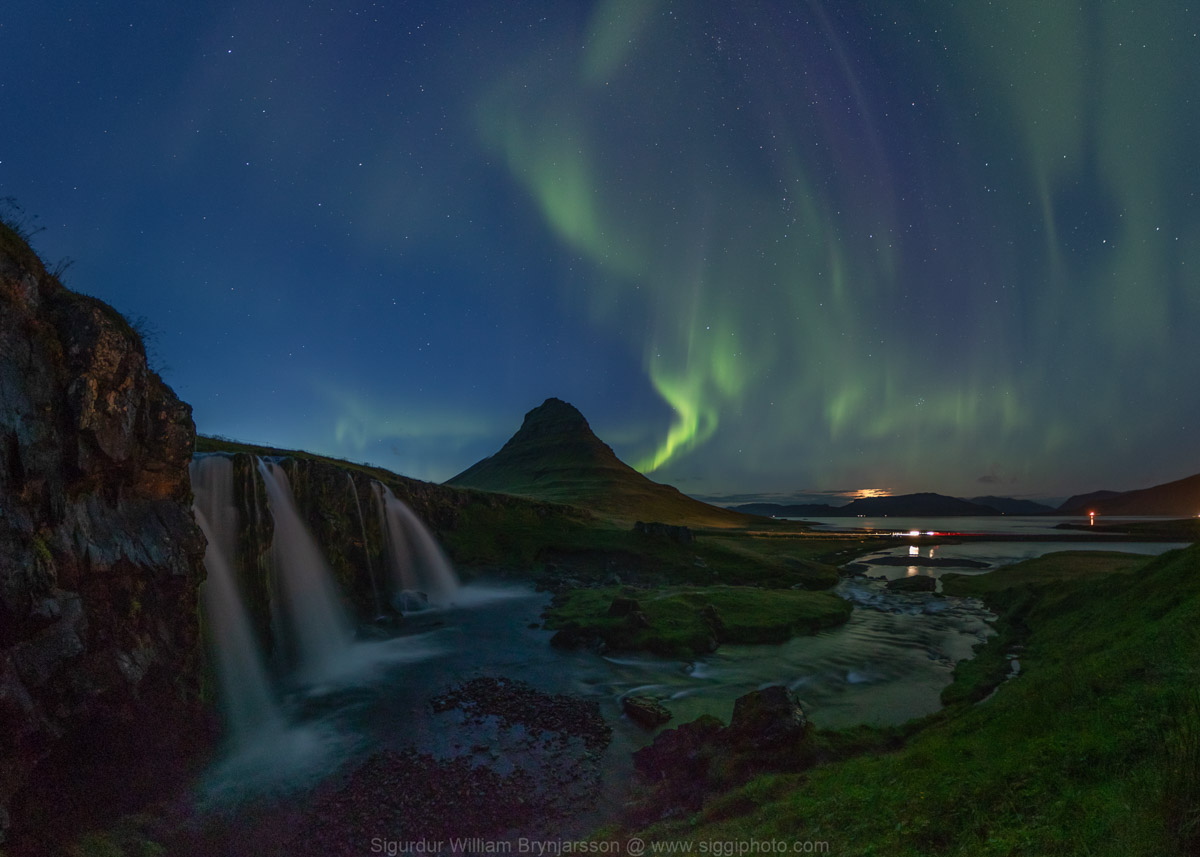
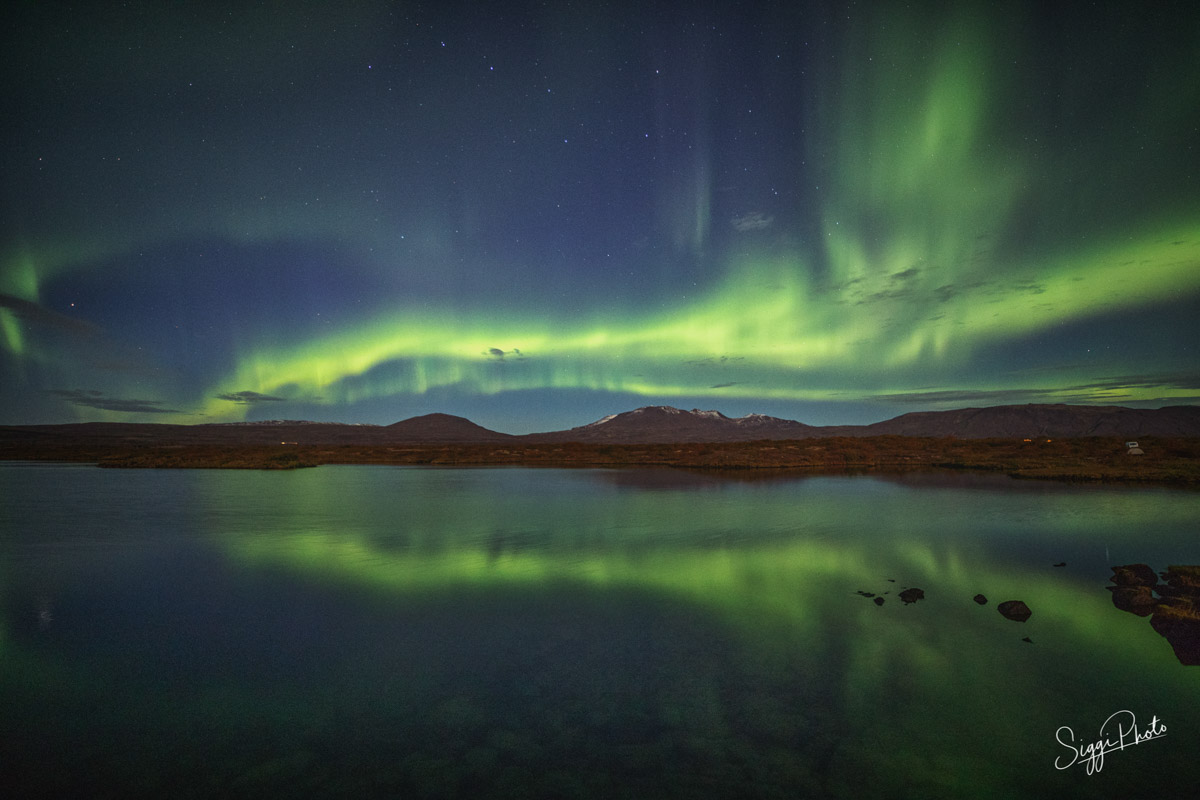
- Shooting Location: If you are planning to shoot in an unfamiliar area it is helpful to scout for locations during the day. Good foregrounds can do wonders for your photos and it can be difficult to find these in the dark. The more locations you have, the better the choice as you sometimes have to chase the lights between gaps in cloud cover.
- Dark Skies: To capture vivid Northern Lights images you will need as much darkness as possible. Ambient light can really affect your ability to see the lights, so avoid city/urban areas as much as possible. A great way to find an area with dark skies is to check the Blue Marble Navigator.
FOCUSING YOUR LENS
It is impossible to take great, sharp photos without first focusing your lens – and yet this can be quite difficult to do at night as even the best autofocus systems are unreliable in low light conditions.
To achieve the sharpest images of the night sky you will need to manually focus your lens at/near infinity (∞).
Most lenses have an ‘∞’ symbol on them which is used to mark the approximate infinity focus point. However, they are likely to need slight adjustments to ensure sharp focus.
Here are three options for focusing your lens for night photography.
Pre-set your focus point during the day:
- Set up your camera during the day with the lens that you will be using to take your Northern Lights photos, and open the lens to the widest focal length possible.
- If your lens has one, pre-set the lens to the infinity mark and then focus on the furthest horizon in your composition.
- Manually make final adjustments as required using the focus ring – autofocus should do this very well during the day but it sometimes needs manual input.
- When you think you’ve achieved focus take some practice shots. Use your camera’s magnification function when reviewing the image to make sure you have perfect focus. If it isn’t focused, repeat steps 2-3.
Set your focus point at the start of your photo shoot (Option 1):
- Open the lens to the widest focal length possible, and switch the lens to Auto Focus.
- Point your camera towards the moon, or to the brightest star you can find in the sky, and place it in the centre of your frame. If you’re having trouble finding a bright enough star, you can use an artificial light source or a distant building/object that is far away.
- Press the shutter button halfway, or if you have back button focusing, the focus button.
- When your camera has locked focus on the light, switch the lens to manual focus and take some practice shots. Use your camera’s magnification function when reviewing the image to make sure you have perfect focus. If it isn’t focused, repeat steps 1-4.
Set your focus point at the start of your photo shoot (Option 2):
- Open the lens to the widest focal length possible, and if your lens has this then pre-set the lens to the infinity mark.
- Enable Live View mode on your camera so that you can use the back LCD monitor; the viewfinder may be too dark to see through.
- Point your camera toward the brightest star you can find in the sky and place it in the centre of your frame. If you are having trouble finding a bright enough star you can use an artificial light source or a distant building/object that is far away.
- Manually focus by using the focus ring.
- When you think you’ve achieved decent focus, take some practice shots. Use your camera’s magnification function when reviewing the image to make sure you have perfect focus. If it isn’t focused, repeat steps 3-4.
Use the Irix 15mm f/2.4 lens (Option 3):
- The Irix 15mm f/2.4 lens has a “click at infinity’’ feature, so when you want to set your focus at infinity, you should simply rotate the focusing ring; and when you feel *click*, you’re sure that you’re ready to go. It’s as simple as that!
- It’s useful to use a second valuable feature of the Irix – the focus lock. Once you’ve set your focus position, you can lock the focusing ring by turning the focus lock ring to the “LOCK” position.
Once you’re comfortable that your lens is focused at infinity, either tape the lens in place with gaffer tape or use a Sharpie (ink marker) to mark both the focus ring and the barrel of the lens that you’ll be able to use as a reference point when returning to shoot at night or in low light.
Remember: if you change your focal length (if you use zooms) your focal point will change as well. Don’t forget to check the focus throughout the night to make sure it hasn’t changed.
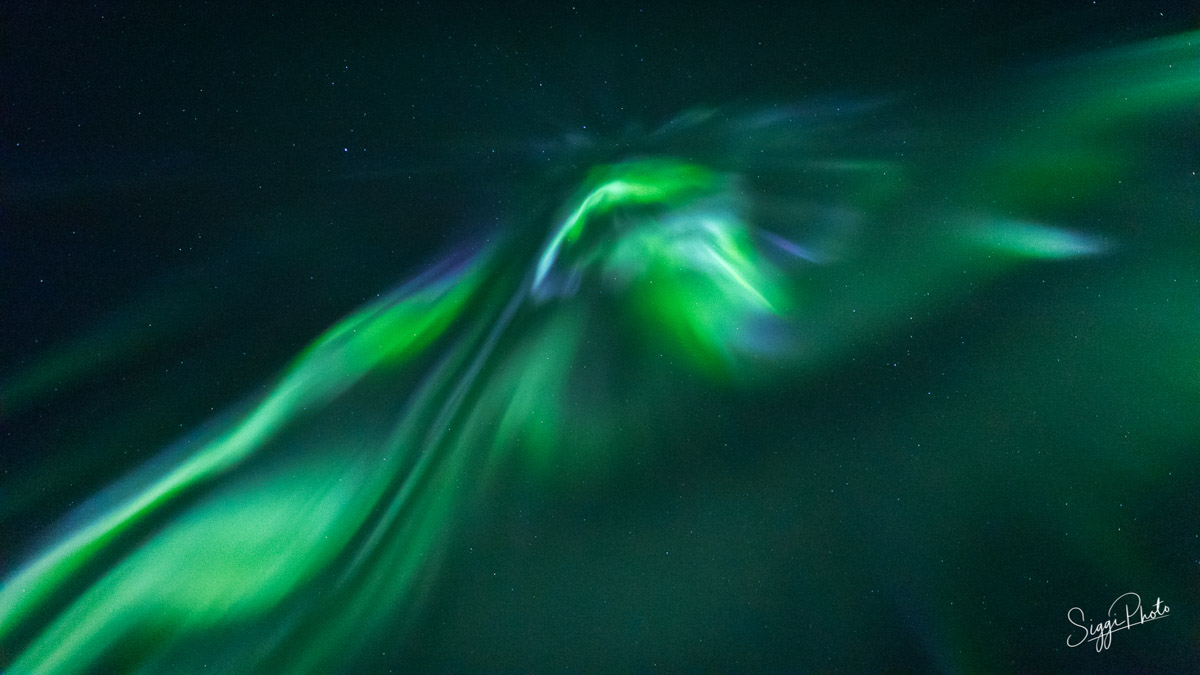
CAMERA SETTINGS
Since the Northern Lights change colour, speed, and brightness throughout the night, you’ll need to constantly adjust your camera settings to match:
- ISO settings: Increasing the ISO allows the camera to correctly expose an image in low lighting situations; however, this is at the cost of noise. Keep the ISO as high as possible without ruining the image with noise – this varies considerably between cameras but most work fine between 1,600 – 3,200.
- Shutter Speed: A shutter speed between 5-25 seconds will work well for shooting the Northern Lights. If the Northern Lights are strong or moving quickly through the sky you will want to select a short exposure time of 2-5 seconds to freeze the detail in your image. Alternatively, if the Northern Lights are weak or moving slowly through the sky then try 10-25 second exposures.
- Aperture: For Northern Lights photography you want the biggest opening (the lowest f-number) possible on your camera. This is because the more light your lens can take in, the lower the shutter speed you need to use and so the quicker you can capture your shot. An F-stop of f/2.8 or lower is the best aperture setting for Northern Lights photography, although values of f/3.5 – f/4 will also work well (but at the cost of a more significant amount of noise caused by the higher iso value).
Finally, don’t forget to look at the lights with your own eyes as well!
Remember – enjoy the moment, and take some memories back with you. These may end up being the images that you treasure the most.
People often ask me what my favourite place in Iceland is, and my answer is always the same: it’s the Glacier Lagoon, or Jökulsárlón in Icelandic.
Why? Because it’s simply magical and it’s such a treat to photograph.
From the icebergs calving and floating into the lagoon, to seeing them then breaking part and floating out to sea – and then to witness them being pushed back upon a diamond beach.
In summer you can photograph the midnight sun casting its everlasting light on those diamonds on the beach. In winter you get the opportunity to explore the magical ice caves, along with shooting the northern lights with no light pollution to mess up your shots.


If you have an interesting idea for a guest post, you can contact me here.